
How to Brief a Manufacturer for Tool-Control Foam Inserts
by a.huynh |
A tool-control foam insert is only as good as the brief behind it. If you send a photograph of a messy drawer and ask for “some foam”, you will spend the next month arguing about handles that do not sit, tools that cannot be lifted out with a glove on, and a contrast colour that cannot be seen under the actual lighting.
This is a specification guide for maintenance, production and quality teams who need inserts for drawers, cases or cabinets they already own, or for a new layout at the point of use. The commercial cutting and finishing sit on Tooling Intelligence’s precision cut foam inserts service. This page is the brief that makes that work go smoothly.
Be clear about what the insert has to do
Write the job of the foam in a few lines, before anyone talks about colours or CAD.
Typical jobs include a visual control so a missing tool is obvious at a glance; protection in transit for calibrated instruments or fragile fixtures; a professional presentation for a demonstration kit; or a mix, such as a service case that must travel and also show a complete kit before the van leaves.
The job changes the design. A drawer that stays in a machine shop can favour a tight, high-visibility layout. A transit case may need more clearance, deeper pockets and a clearer grip. A kit that must be checked for foreign object debris will put contrast and completeness ahead of packing the maximum number of items into the space.
If tool control is the main job, foam alone will not hold the standard overnight. The article on why tool-control foam fails without a control loop is worth reading with this brief: the insert shows what should be there, and a process has to notice when it is not.
Describe the container as carefully as the tools
Manufacturers can cut to a drawer, toolbox, case, cabinet or transit box you already own. They cannot guess a useful fit from a brand name.
For each container, record:
- Internal length, width and usable depth, not the external size of the box.
- Whether the figure is a measurement you took, a manufacturer drawing, or a guess. Guesses should be replaced before cutting.
- Obstructions: drawer runners, lock mechanisms, lid stays, foam already in the lid, drainage, wheels, or a document pocket.
- How the drawer or lid closes. A tool that looks fine in an open drawer can hit the drawer above or the case lid.
- Whether the insert must be in one piece, in layers, or in removable trays.
- How the container is used: pulled out fully, used on a bench, carried, or wheeled over rough ground.
If several drawers are supposed to be identical, say so, and say whether they truly are. A “standard” cabinet often has one drawer that is shallower than the others.
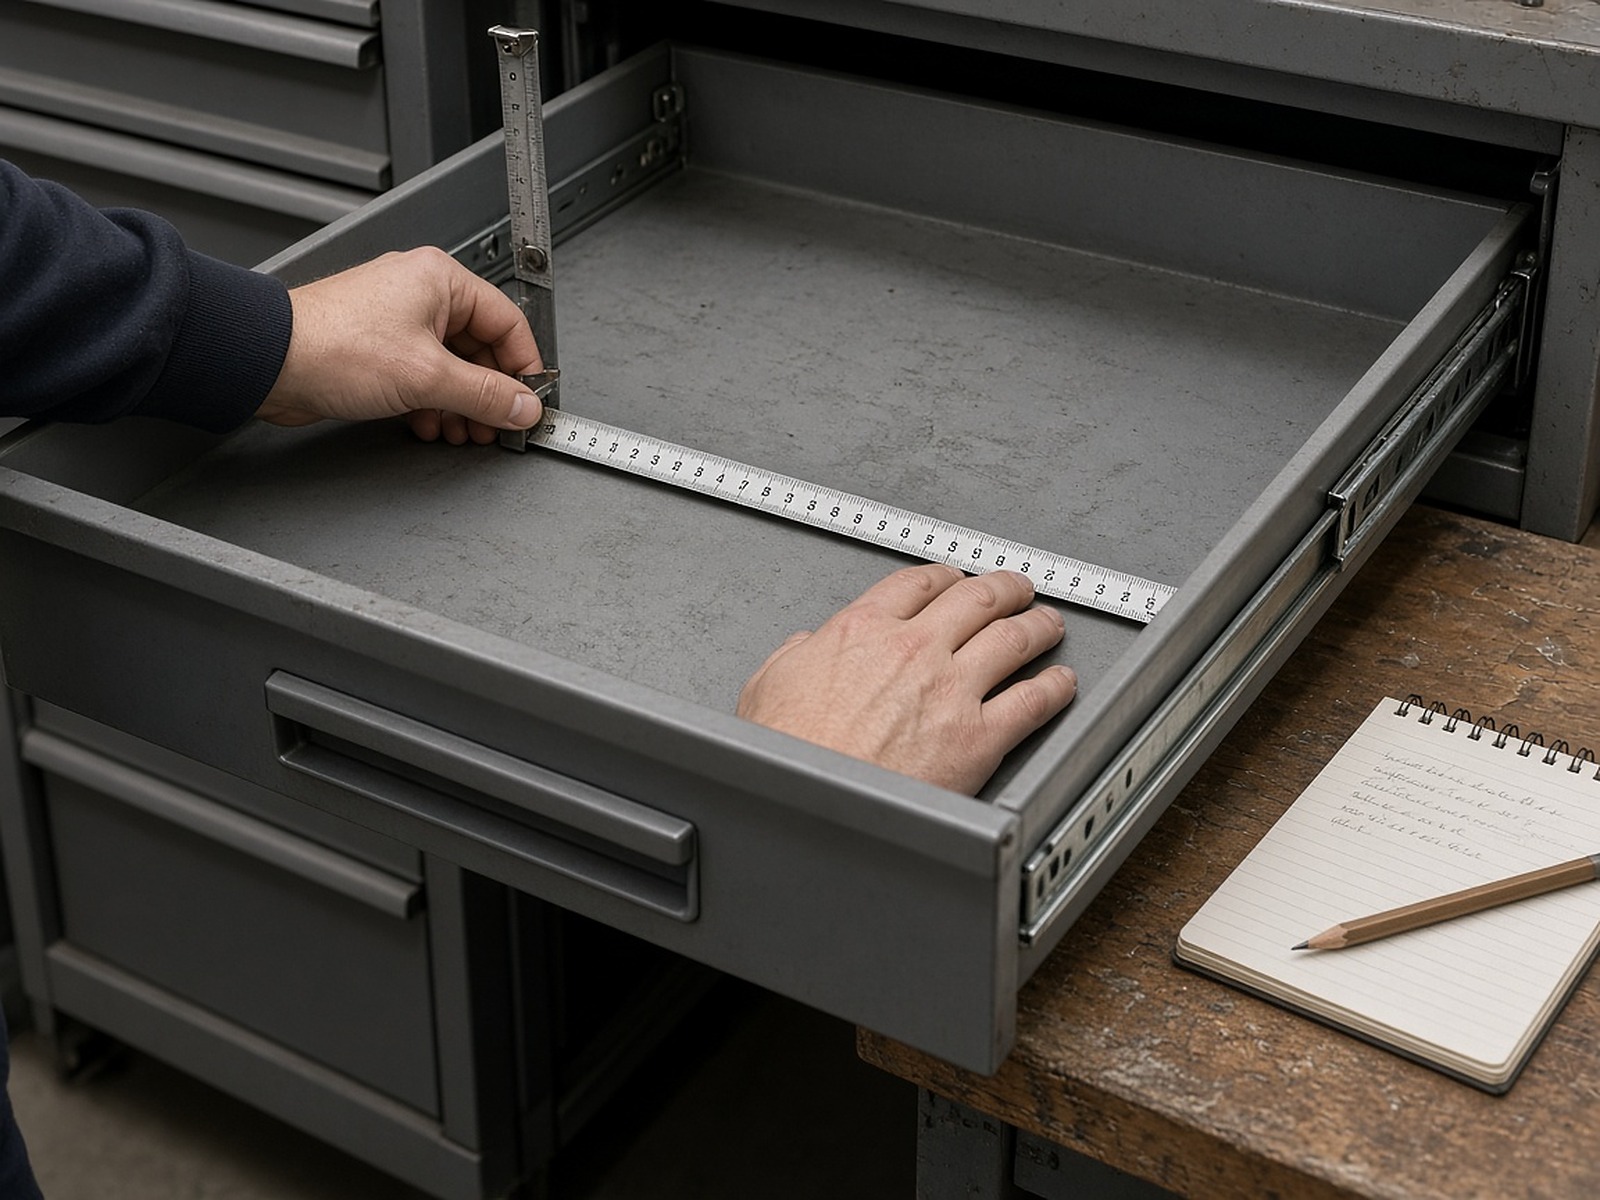
Photographs help, but they are not a substitute for dimensions. Include one shot with a tape or ruler in the drawer.
Make a complete, honest tool list
The brief should list every item that has to live in the insert, including the awkward ones.
For each item, note:
- A name that your team actually uses, plus a part number if you have one.
- Whether the item is unique or one of a set (sockets, spanners, letter stamps).
- The orientation you want: handles in one direction, cutting edges protected, batteries removable or not.
- Any accessory that must sit with it: a lid, a cap, a calibration certificate sleeve, a charge cable.
- Whether the item may be substituted later for a slightly different model. If it may, say so, because a tight pocket around one body will not fit the next.
Do not brief a “typical” kit if the real kit includes a bulky tester or a long torque wrench. Those are the items that break a layout. If the kit is still changing, freeze it for the insert or accept a revision. Foam can be recut. It cannot usefully be briefed against a list that is still a debate.
Decide the layout rules before the first drawing
A good manufacturer will offer a layout, but they need your rules.
Useful rules include:
- Items used together should sit together.
- Heavy items sit where the drawer or case can take the weight, usually closer to the runner or the handle side, not in a weak corner.
- There must be a way to lift the item out with the glove or oily hand that people will actually use. A beautiful pocket that can only be emptied with fingernails will be abandoned.
- Contrast colours must be visible in the real lighting, including inside a deep drawer.
- Space for a future item should be marked now, or deliberately left out. “Leave a bit of room” without a size is not a rule.
- Labels: if you want engraved or printed names, say what language, what naming convention, and whether part numbers appear.
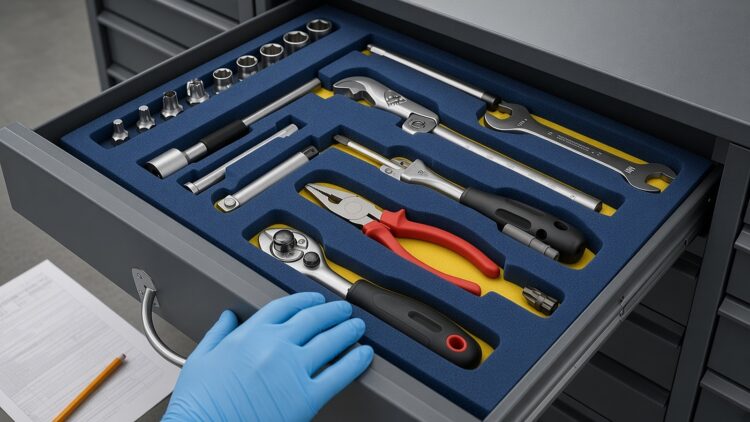
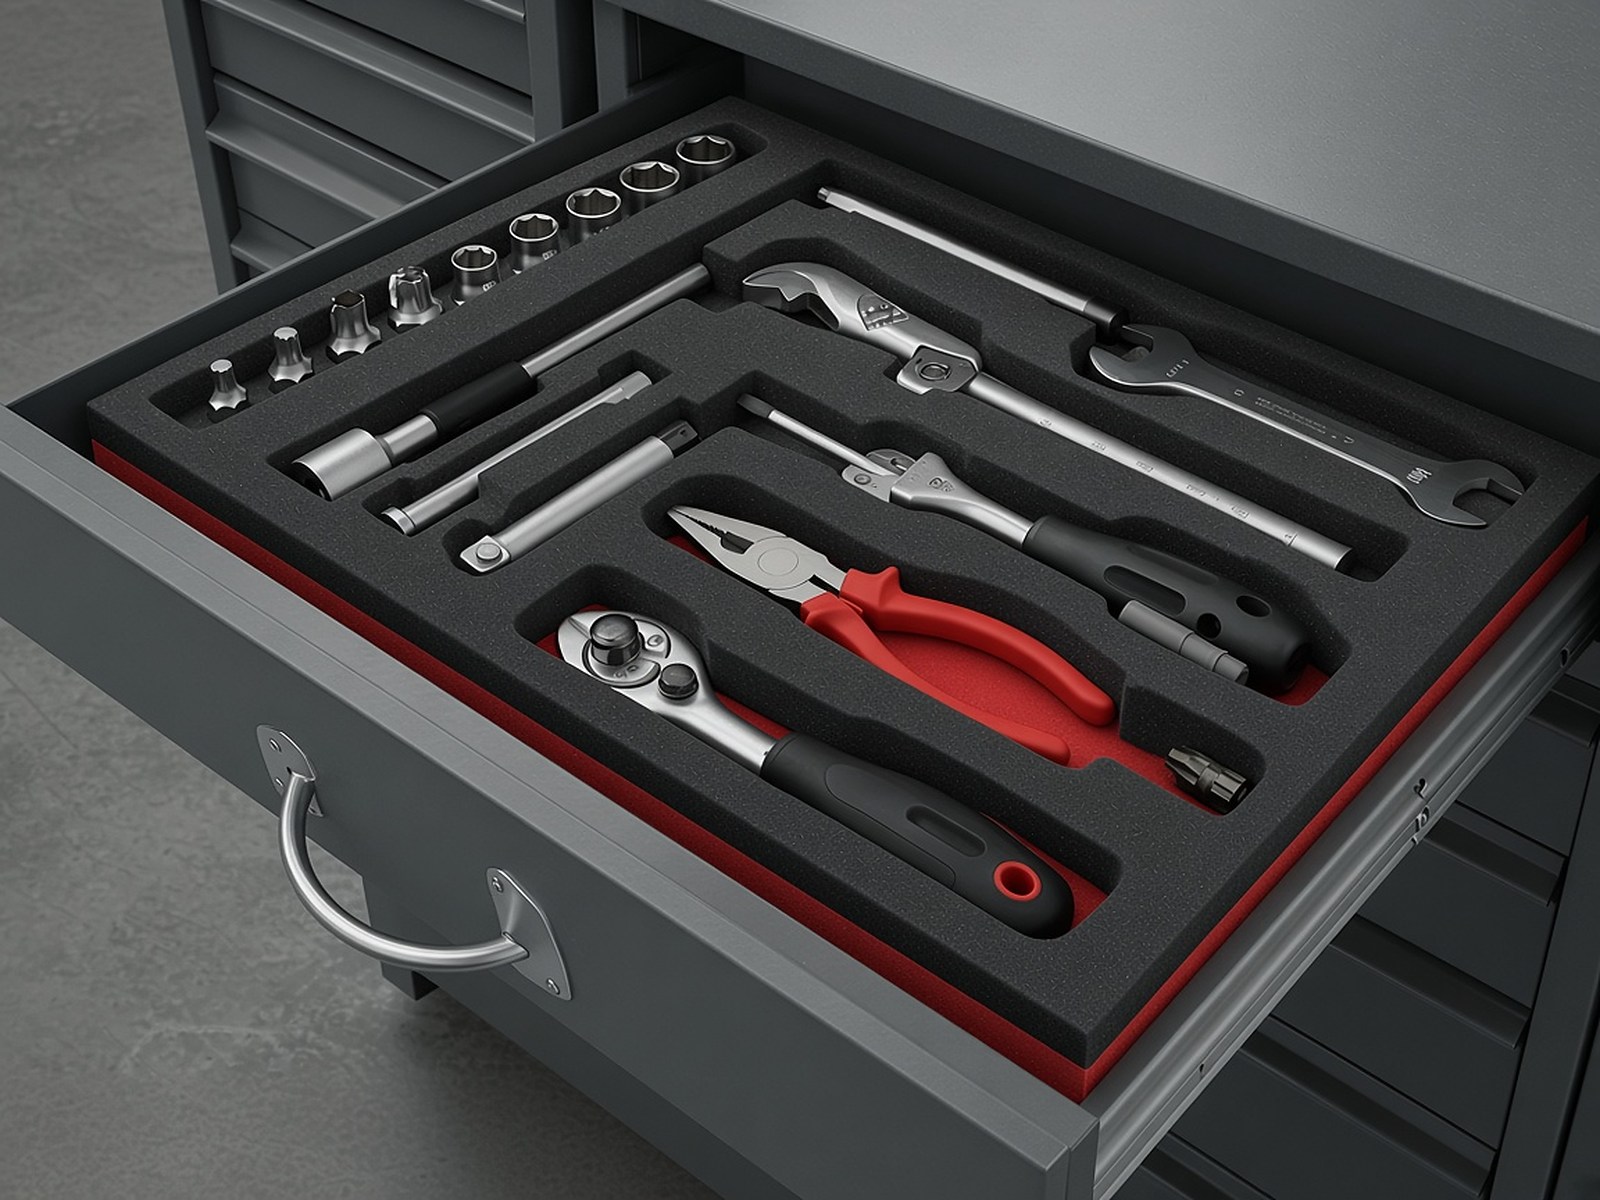
Two-colour, layered foam is the usual way to make a missing tool obvious: the top colour is cut to the tool, and a contrasting colour shows through in the empty pocket. That only works if the contrast is strong and the pocket shape is recognisable.
Choose how the manufacturer will get the shape
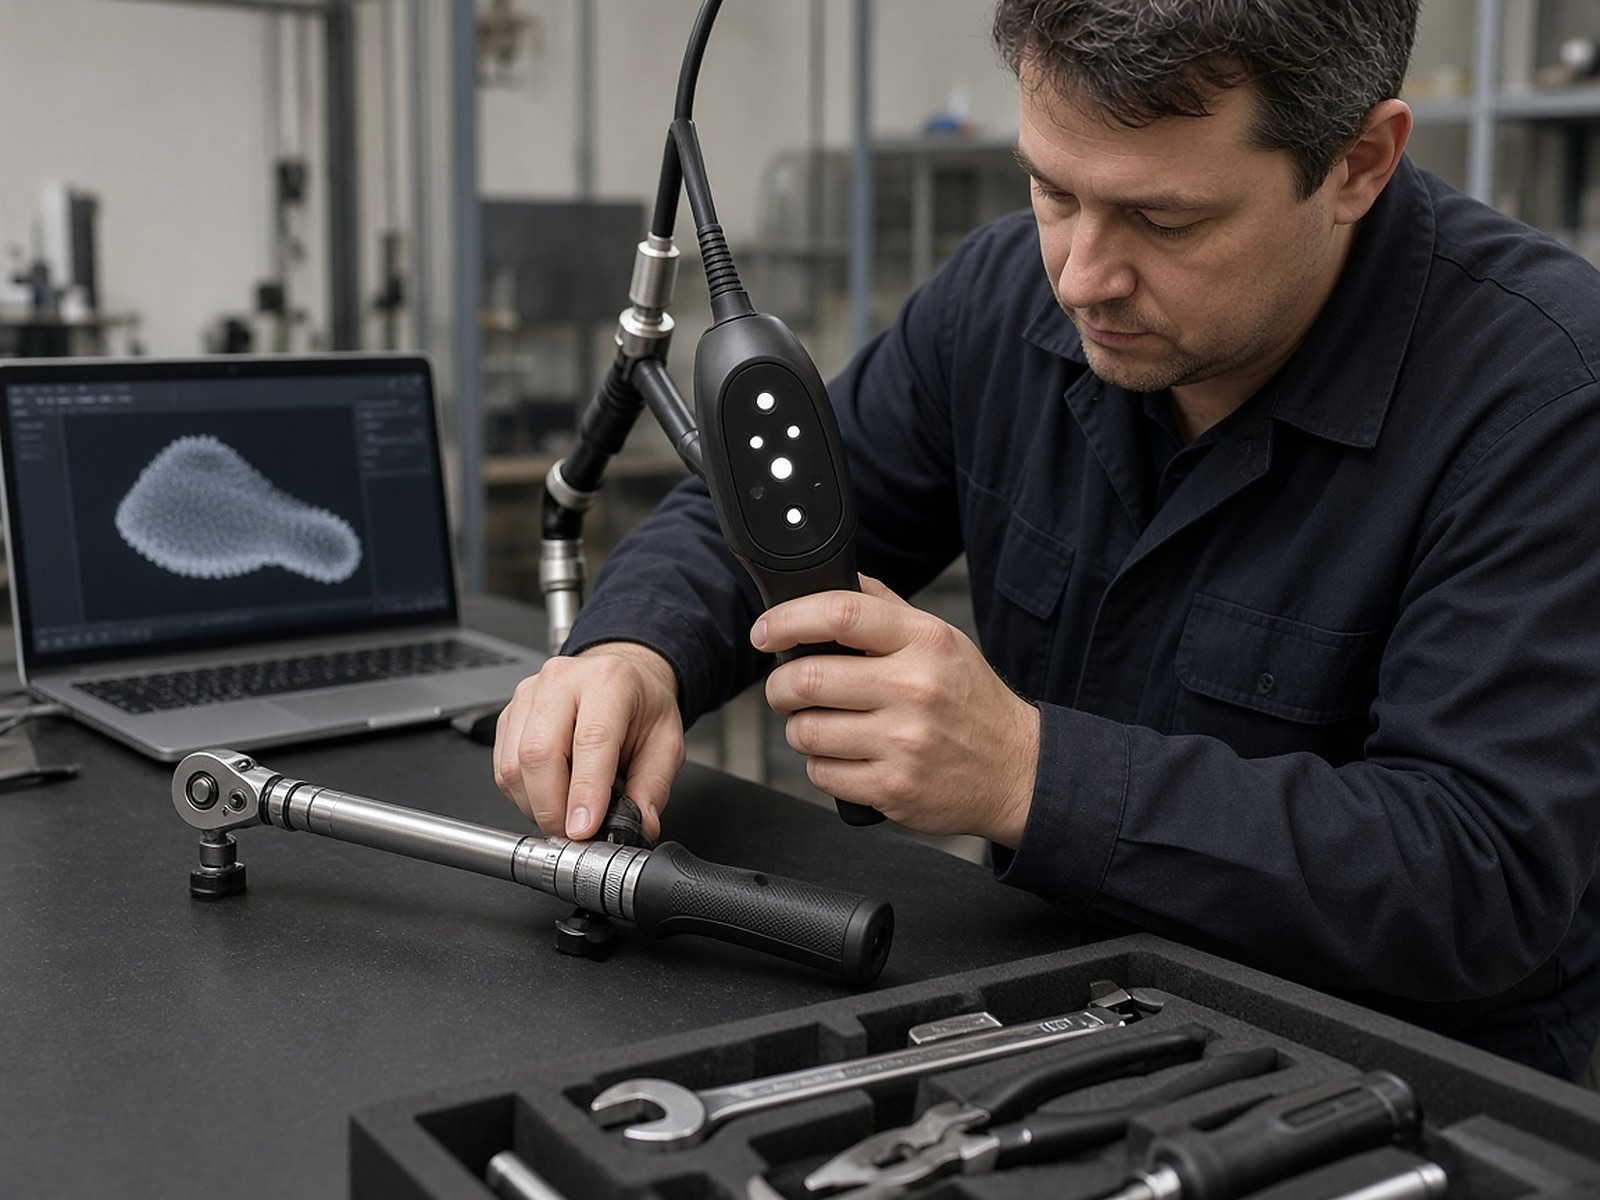
Tooling Intelligence’s foam service can work from the actual items, from existing CAD data, or from detailed measurements. The service page is clear about the order of preference: for the highest precision, provide the items to 3D scan; otherwise, provide CAD or careful measurements.
Use that in the brief:
- Send the items when the shape is complex, when handles and undercuts matter, or when you cannot trust a drawing of an old tool.
- Send CAD when you already have reliable models, or when the items cannot leave the plant. Agree the format, the units, and whether the model includes accessories.
- Send measurements only when the shape is simple and you are prepared for a more iterative fit. Include sketches, not only a table of lengths.
If tools cannot leave a controlled area, say so early, before a collection date is set. Also say whether the items you send are the live kit or equivalents. A worn handle or a different grip on a “representative” tool will be cut as if it were the real thing.
Say something useful about the environment
The brief should describe the conditions, not a generic “workshop use”.
Include:
- Oil, coolant, water or cleaning chemicals that will reach the foam.
- Temperature, if the case lives in a van overnight or next to a hot process.
- Whether the insert must be wiped down as part of a cleaning regime.
- How roughly the drawer or case is handled.
Tooling Intelligence uses a high-density, closed-cell polyethylene foam, cut in-house on a CNC router, and describes it as resistant to tearing, water, oils and many common industrial chemicals. You do not need to specify a cutting method if you are using that service. You do need to say if the environment is unusual (aggressive solvents, food-grade expectations, or a clean-room wipe-down), so they can tell you whether the standard material is suitable.
If you have a corporate colour standard, state it, and say whether contrast for tool control takes priority. A dark tool in a dark pocket looks tidy in a photograph and fails on the shop floor.
Foreign object debris and regulated tool control
In aerospace and some other controlled areas, the insert is part of a wider tool-control practice: a complete kit at the start, a complete kit at the end, and a way to see a missing item quickly. Foam can support that. It does not replace the procedure.
If this is the intent, write it down:
- Every pocket should have a clear, unique shape or a label, so a gap is identifiable.
- Spare or optional items should not be hidden in a way that makes a “full” drawer ambiguous.
- Loose small parts (bits, sockets, pins) need a defined home, not a shared well that can hide a shortage.
- The insert should not itself shed crumbs of foam into the work.
The aerospace article on tool tracking and foreign object debris covers the wider issue-and-return loop. Use this brief for the physical kit, and that article for the process around it.
Agree the process, the proof and the quantity
A clean brief also covers how you will work together.
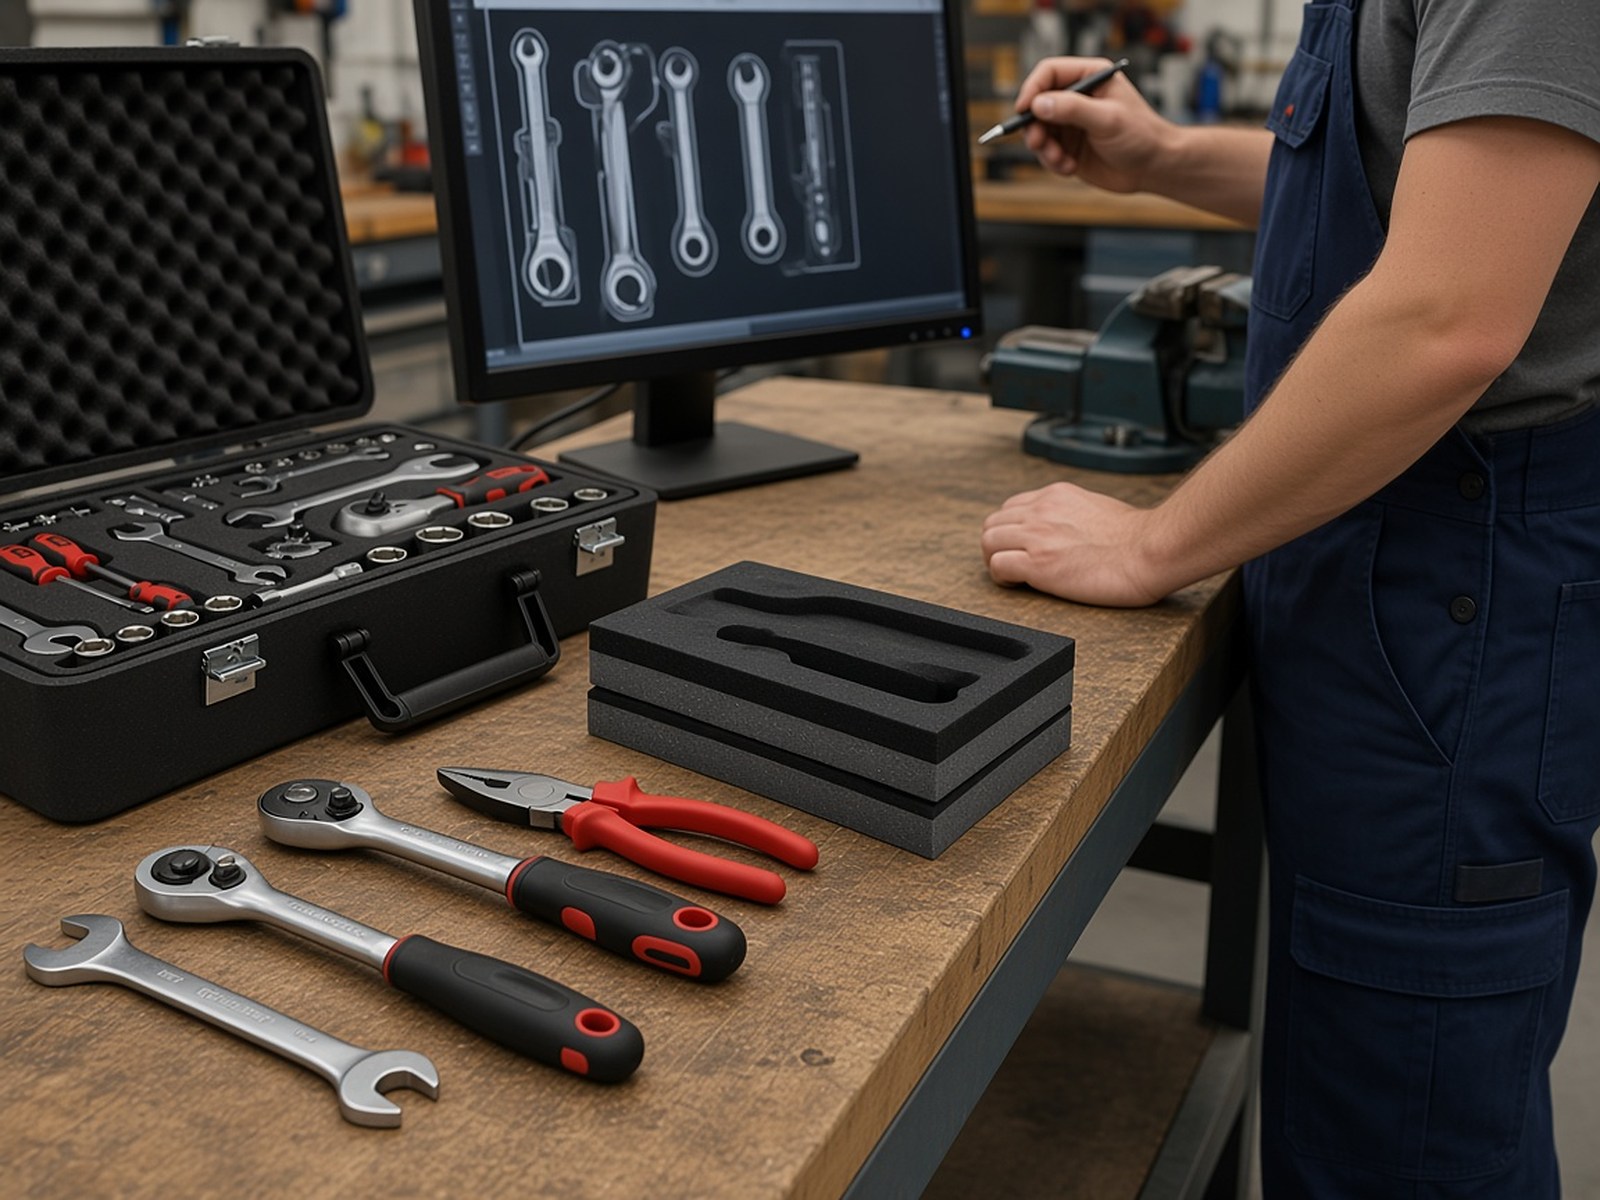
Tooling Intelligence runs the process in-house: consultation and design, 3D scanning or CAD, layout optimisation, a digital proof for approval, CNC machining, then a final fit and finish check. There is no published minimum order quantity; one-off inserts and batch runs are both possible. Lead time is not a catalogue number, so ask for a date against your actual brief.
In your own note, name the proof approver, say whether you want a physical fit check before a batch is cut, state the quantity now and whether more may be needed later to the same design, and say whether the manufacturer is only supplying the foam or also advising on the drawer. Do not approve a proof “in principle” if labels, orientations or glove clearance are still open. The proof is the last inexpensive moment to change your mind.
A one-page briefing checklist
Before you send anything, you should be able to tick:
- Purpose of the insert (control, protection, presentation, or a defined mix).
- Container internal dimensions, obstructions and closing clearances.
- A frozen tool list, including accessories and likely substitutes.
- Layout rules: grouping, lifting clearance, contrast, labels, future space.
- How shapes will be captured: items for scan, CAD, or measurements.
- Environment: fluids, handling, cleaning, colour constraints.
- Any tool-control or FOD requirement that affects pocket design.
- Quantity, proof approver, and whether a physical fit check is required.
If any of those eight is missing, the first layout will be a guess.
Frequently asked questions
Can you cut an insert for a toolbox or cabinet we already use?
Yes. The service is explicitly set up to work to the internal dimensions of an existing case, drawer or container. The quality of that fit depends on the quality of the dimensions and obstruction details you provide.
Do we have to send the tools away?
Not always. Sending the items is the most precise route for complex shapes. CAD or detailed measurements can be used when tools cannot leave the site. Raise that constraint at the start.
Is there a minimum order?
No minimum order is stated for this service. One-off inserts for specialist equipment and larger batches are both within scope. Batch pricing and dates should be taken from a quote against your brief.
How long will it take?
There is no single catalogue lead time. The team can give a date once they have seen the container, the list and the current workload. A frozen brief is the best way to get a date that holds.
Will foam alone keep a tool board honest on a night shift?
No. It will make a missing item visible. You still need a check at the points that matter, and a way of issuing and returning tools that people actually use.
Closing
If you are about to order tool-control foam, write the purpose, measure the container, freeze the kit, and agree how the proof will be approved. Send that brief to Tooling Intelligence with a request for a precision cut foam inserts quote, or call 01926 484 511. If you also need the issue-and-return loop around the kit, the industrial vending range is the next place to look, and the Honiley demonstration centre can show the foam work and the cabinets together.